|
You just bought a new angle grinder but didn’t know how to put the blade on it. It’s not hard to do, but if you’re not sure how to do it safely, you could end up hurting yourself. Additionally, if you don’t mount the blade correctly, it could come flying off while you’re using it and cause serious injury. We are here to help you avoid those pitfalls and learn how to put a blade on an angle grinder the right way, so let’s get started. What Tools You Will NeedIt’s a good idea to have all the tools you need before you start any project, and this one is no different. For this project, you will need:
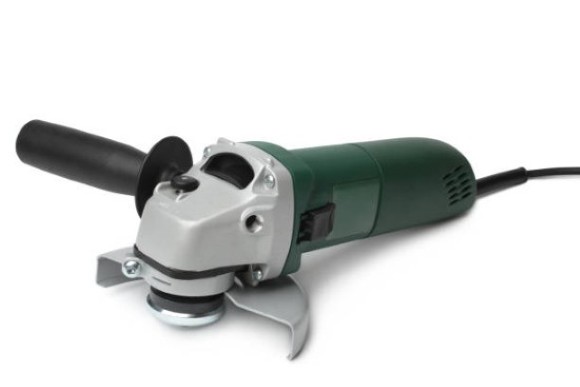
How to Put a Blade on an Angle Grinder Harmlessly: Step-By-Step GuideAn angle grinder is a versatile tool that can be used for a variety of projects, such as cutting, grinding, and polishing. You can use it on metal, concrete, tile, and more. Before you can start connecting the blade, you need to take some safety precautions. Put on your safety goggles and gloves. It’s also wise to wear a dust mask to avoid inhaling any particles. The following steps will assist you in putting the blade on an angle grinder: Step 1: Read the ManualThe first thing you should do before putting a blade on your angle grinder is to read the manual. Every model is different and has its own quirks, so it’s important that you know how yours works. This will also help you understand what safety features are included with your particular model. Step 2: Inspect the GrinderOnce you’ve read the manual, it’s time to inspect your angle grinder. Make sure that there is no damage to the housing or cord. If you see anything that looks damaged, do not use the grinder. It is also essential that you make sure that it is secure and in good condition. The blade guard is there to protect you from the blade, which is why you should make sure it is not damaged in any way. Step 3: Select the Appropriate BladeNot all blades are created equal, and some are better suited for different tasks than others. There are three main types of blades available for use with an angle grinder:
Step 4: Attach the Blade
Once you’ve selected the appropriate blade, it’s time to attach it to the angle grinder. If your model uses bolts, you’ll need to use a hex key or Allen wrench to tighten them. You don’t want to over tighten the bolts, as this could damage the blade or cause it to come loose while you’re using the grinder. Step 5: Install the Blade GuardThe final step is to install the blade guard. You should install the blade guard correctly if you want to be protected from the blade. Make sure that the grinder guard is secure and functioning properly before using the grinder. These are the steps that you need to follow in order to assemble an angle grinder cautiously. ConclusionNow you know the steps for safely mounting a blade to an angle grinder. Be sure to follow the steps outlined in this article, and always wear safety gear when using an angle grinder. We hope you found this article helpful. So what are you waiting for? Go put the blades on your electric angle grinder and get to work.
0 Comments
Leave a Reply. |